Part 1: Rails API
Initial project setup
rvm current
# ruby-2.5.7@rails6-active-storage-react

# create new rails project with a postgresql database
rails new . --api -d postgresql

# create and migrate the database
rake db:create && rake db:migrate
I added additional gems to the Gemfile
gem 'rack-cors'
gem 'image_processing'

group :development, :test do
  gem 'factory_bot_rails'
  gem 'pry'
  gem 'rspec-rails'
end

group :test do
  gem 'database_cleaner-active_record'
end
Install the gems via: bundle install
I added a basic CORS configuration to the file: config/initializers/cors.rb. This allows the React frontend to make API requests.
Rails.application.config.middleware.insert_before 0, Rack::Cors do
  allow do
    origins %w[localhost:3001]

    resource '*',
      headers: :any,
      methods: %i[get post put patch delete options head]
  end
end
I executed rails active_storage:install and rake db:migrate to create the necessary database migrations for Active Storage.
I added a migration to create a pictures table, and executed rake db:migrate.
class CreatePictures < ActiveRecord::Migration[6.0]
  def change
    create_table :pictures do |t|
      t.timestamps
    end
  end
end
I added the Picture model (file: app/models/picture.rb). The model implements methods for JSON serialization and defines a single Active Storage attachment. The JSON contains an attachment_url with a resized [200, 200] variant.
class Picture < ApplicationRecord
  include ActiveModel::Serializers::JSON

  has_one_attached :attachment

  def attributes
    {
      'id' => nil,
      'updated_at' => nil,
      'created_at' => nil,
      'attachment_url' => nil
    }
  end

  def attachment_url
    Rails.application.routes.url_helpers.rails_representation_url(
      attachment.variant(resize_to_limit: [200, 200]).processed, only_path: true
    )
  end
end
The controller (file: app/controllers/pictures_controller.rb) implements the index and create methods.
class PicturesController < ApplicationController
  def index
    render json: Picture.all.with_attached_attachment.order(id: :desc)
  end

  def create
    picture = Picture.new(picture_params)

    if picture.save
      render json: picture, status: :created
    else
      render json: picture.errors, status: :unprocessable_entity
    end
  end

  private

  def picture_params
    params.require(:picture).permit(:attachment)
  end
end
Last I added the picture controller routes to the file: config/routes.rb
Rails.application.routes.draw do
  resources :pictures, only: %i[create index]
end
Part 2: Testing
From the console I entered a directory containing test images to upload.
# upload all the images using curl
ls -1 | xargs -I{} curl -X POST -F "picture[attachment]=@./{}" http://localhost:3000/pictures

# fetching images from the index route
curl http://localhost:3000/pictures 2>/dev/null | jq '.[0]'
{
  "id": 68,
  "updated_at": "2020-02-15T13:15:24.465Z",
  "created_at": "2020-02-15T13:15:24.449Z",
  "attachment_url": "/rails/active_storage/representations/eyJfcmFpbHMiOnsibWVzc2FnZSI6IkJBaHBTUT09IiwiZXhwIjpudWxsLCJwdXIiOiJibG9iX2lkIn19--6229a61847a498801a17c0f72e5528239fcbc1ec/eyJfcmFpbHMiOnsibWVzc2FnZSI6IkJBaDdCam9VY21WemFYcGxYM1J2WDJ4cGJXbDBXd2RwQWNocEFjZz0iLCJleHAiOm51bGwsInB1ciI6InZhcmlhdGlvbiJ9fQ==--9747cbda9b013ecaed6d2f3f5323a132d671fc88/yM55sxm.jpg"
}
Next I setup RSpec for unit tests. I executed rails generate rspec:install to generate the configuration files.
I added a DatabaseCleaner strategy and included FactoryBot methods in the file: spec/rails_helper.rb
ENV['RAILS_ENV'] = 'test'

RSpec.configure do |config|
  # ...snip...
  config.before(:suite) do
    DatabaseCleaner.strategy = :transaction
    DatabaseCleaner.clean_with(:truncation)
  end
  config.around(:each) do |example|
    DatabaseCleaner.cleaning do
      example.run
    end
  end

  config.include FactoryBot::Syntax::Methods
end
I added a FactoryBot factory for the picture model, file: spec/factories/pictures.rb, and copied the Rails logo into spec/fixtures/files/
FactoryBot.define do
  factory :picture do
    created_at { DateTime.now }
    updated_at { DateTime.now }

    trait :with_attachment do
      after :build do |picture|
        file_name = 'rails-logo.png'
        file_path = Rails.root.join('spec', 'fixtures', 'files', file_name)
        picture.attachment.attach(io: File.open(file_path), filename: file_name, content_type: 'image/png')
      end
    end
  end
end
Here is a sample controller test, file: spec/controllers/pictures_controller_spec.rb
require 'rails_helper'

RSpec.describe PicturesController, type: :controller do
  describe 'GET #index' do
    let!(:picture) { create(:picture, :with_attachment) }

    it 'is successful' do
      get :index
      expect(response).to be_successful
      response_body = JSON.parse(response.body)
      expect(response_body[0]['attachment_url']).to be_present
    end
  end

  describe 'POST #create' do
    let(:file_upload) { fixture_file_upload(file_fixture('rails-logo.png'), 'image/png') }

    it 'is successful' do
      post :create, params: { picture: { attachment: file_upload } }
      expect(response.status).to eq(201)
    end
  end
end
I executed rspec to ensure the tests run successfully.
Part 3: React front end
I created a new React project.
# set nodejs version using NVM
nvm use v12.15.0

# create react app
npx create-react-app .

# define nodejs version
nvm current > .nvmrc

# add bootstrap library for layout
npm install react-bootstrap bootstrap
I included the bootstrap CSS, file: src/index.js
import React from 'react'
import ReactDOM from 'react-dom'
import './index.css'
import App from './App'
import * as serviceWorker from './serviceWorker'

import 'bootstrap/dist/css/bootstrap.min.css'

ReactDOM.render(<App />, document.getElementById('root'))

// If you want your app to work offline and load faster, you can change
// unregister() to register() below. Note this comes with some pitfalls.
// Learn more about service workers: https://bit.ly/CRA-PWA
serviceWorker.unregister()
I added a constants file to define the API host URL, new file: src/constants.js
export const ApiHost = 'http://localhost:3000'I revised the main App component to include my the Pictures component, file: src/App.js
import React from 'react'
import Pictures from './Pictures'
import './App.css'
function App() {
return (
<div className="container">
<Pictures></Pictures>
</div>
)
}
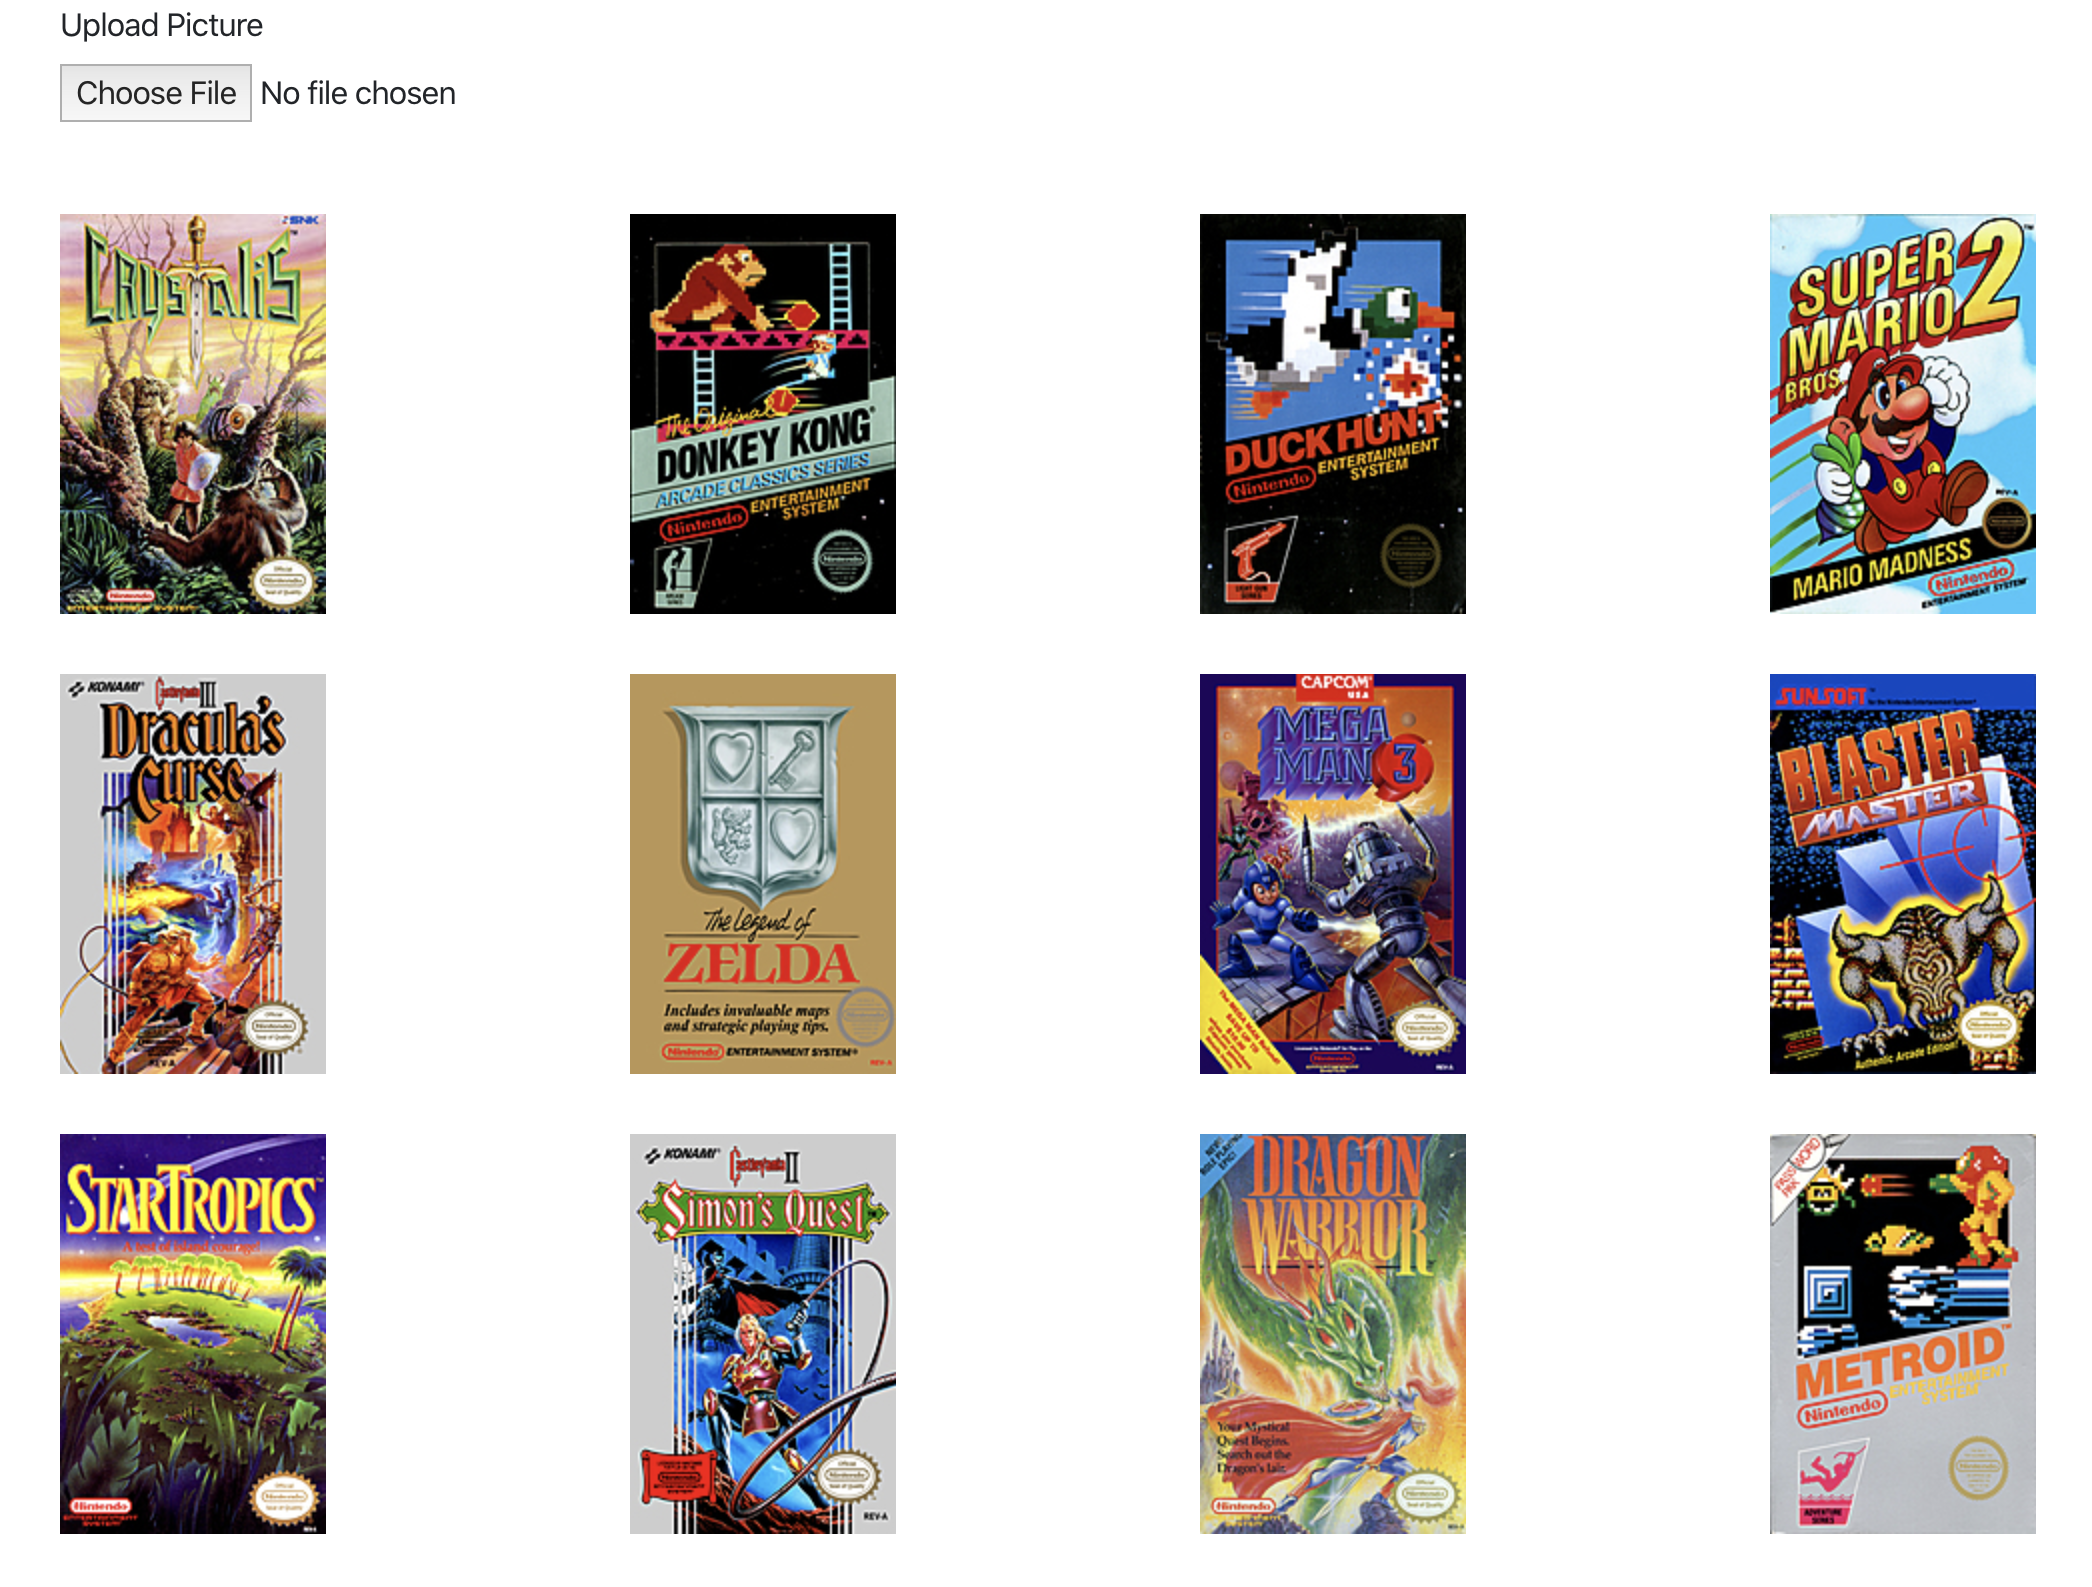
export default AppI created a basic Pictures component (file: src/Pictures.js). On mount, is loads the existing pictures from the API and renders them in a defined number of columns. It also provides a file input which submits (on change) to create a new picture via the API.
import React from 'react'
import { ApiHost } from './constants'

class Pictures extends React.Component {
  constructor(props) {
    super(props)

    this.state = {
      pictures: [],
      number_columns: 4,
      loading: true,
    }

    this.handleFileInputChange = this.handleFileInputChange.bind(this)
    this.loadPictures = this.loadPictures.bind(this)
  }

  render() {
    if (this.state.loading) return null

    return(
      <div className="pictures_container">

        <div className="row">
          <div className="col">
            <form>
              <div className="form-group">
                <label htmlFor="file_upload">Upload Picture</label>
                <input type="file" className="form-control-file" id="file_upload" onChange={this.handleFileInputChange} />
              </div>
            </form>
          </div>
        </div>

        {this.pictureRows().map((pictureRow, rowIndex) =>
          <div key={`picture_row_${rowIndex}`} className="row">
            {pictureRow.map((picture, columnIndex) =>
              <div key={`picture_row_${rowIndex}_col_${columnIndex}`} className="col-sm-3">
                <img data-id={picture.id} src={`${ApiHost}${picture.attachment_url}`} />
              </div>
            )}
          </div>
        )}
      </div>
    )
  }

  componentDidMount() {
    this.loadPictures()
  }

  loadPictures() {
    fetch(`${ApiHost}/pictures.json`)
      .then((response) => response.json())
      .then((pictures) =>
        this.setState({
          pictures: pictures,
          loading: false
        })
      )
  }

  handleFileInputChange(event) {
    let body = new FormData()
    body.append('picture[attachment]', event.target.files[0] )
    fetch(
      `${ApiHost}/pictures.json`,
      {
        method: 'post',
        body: body
      }
    )
    .then((response) => response.json())
    .then((picture) => {
      let pictures = this.state.pictures
      pictures.unshift(picture)
      this.setState({
        pictures: pictures
      })
    })
  }

  pictureRows() {
    let rows = []
    let row = []
    this.state.pictures.forEach((picture) => {
      row.push(picture)
      if (row.length === this.state.number_columns) {
        rows.push(row)
        row = []
      }
    })
    if (row.length > 0) {
      rows.push(row)
    }
    return rows
  }
}

export default Pictures
Last I added a bit of CSS to improve the pictures layout, file: src/App.css
.pictures_container img {
  max-height: 100%;
  max-width: 100%;
}

.pictures_container .row {
  margin-bottom: 30px;
}
The React front end can be started via: npm start.
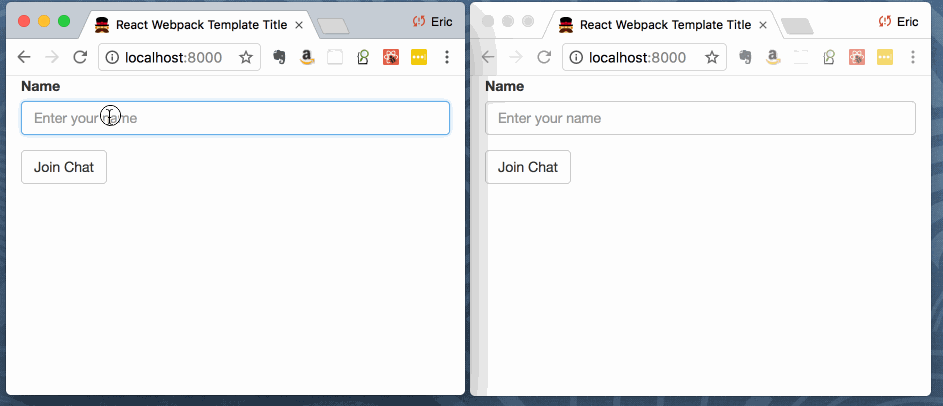
A screenshot: